
We cover a LOT of stuff in here, from our capabilities to best practices.
BOTLINK ARTICLES
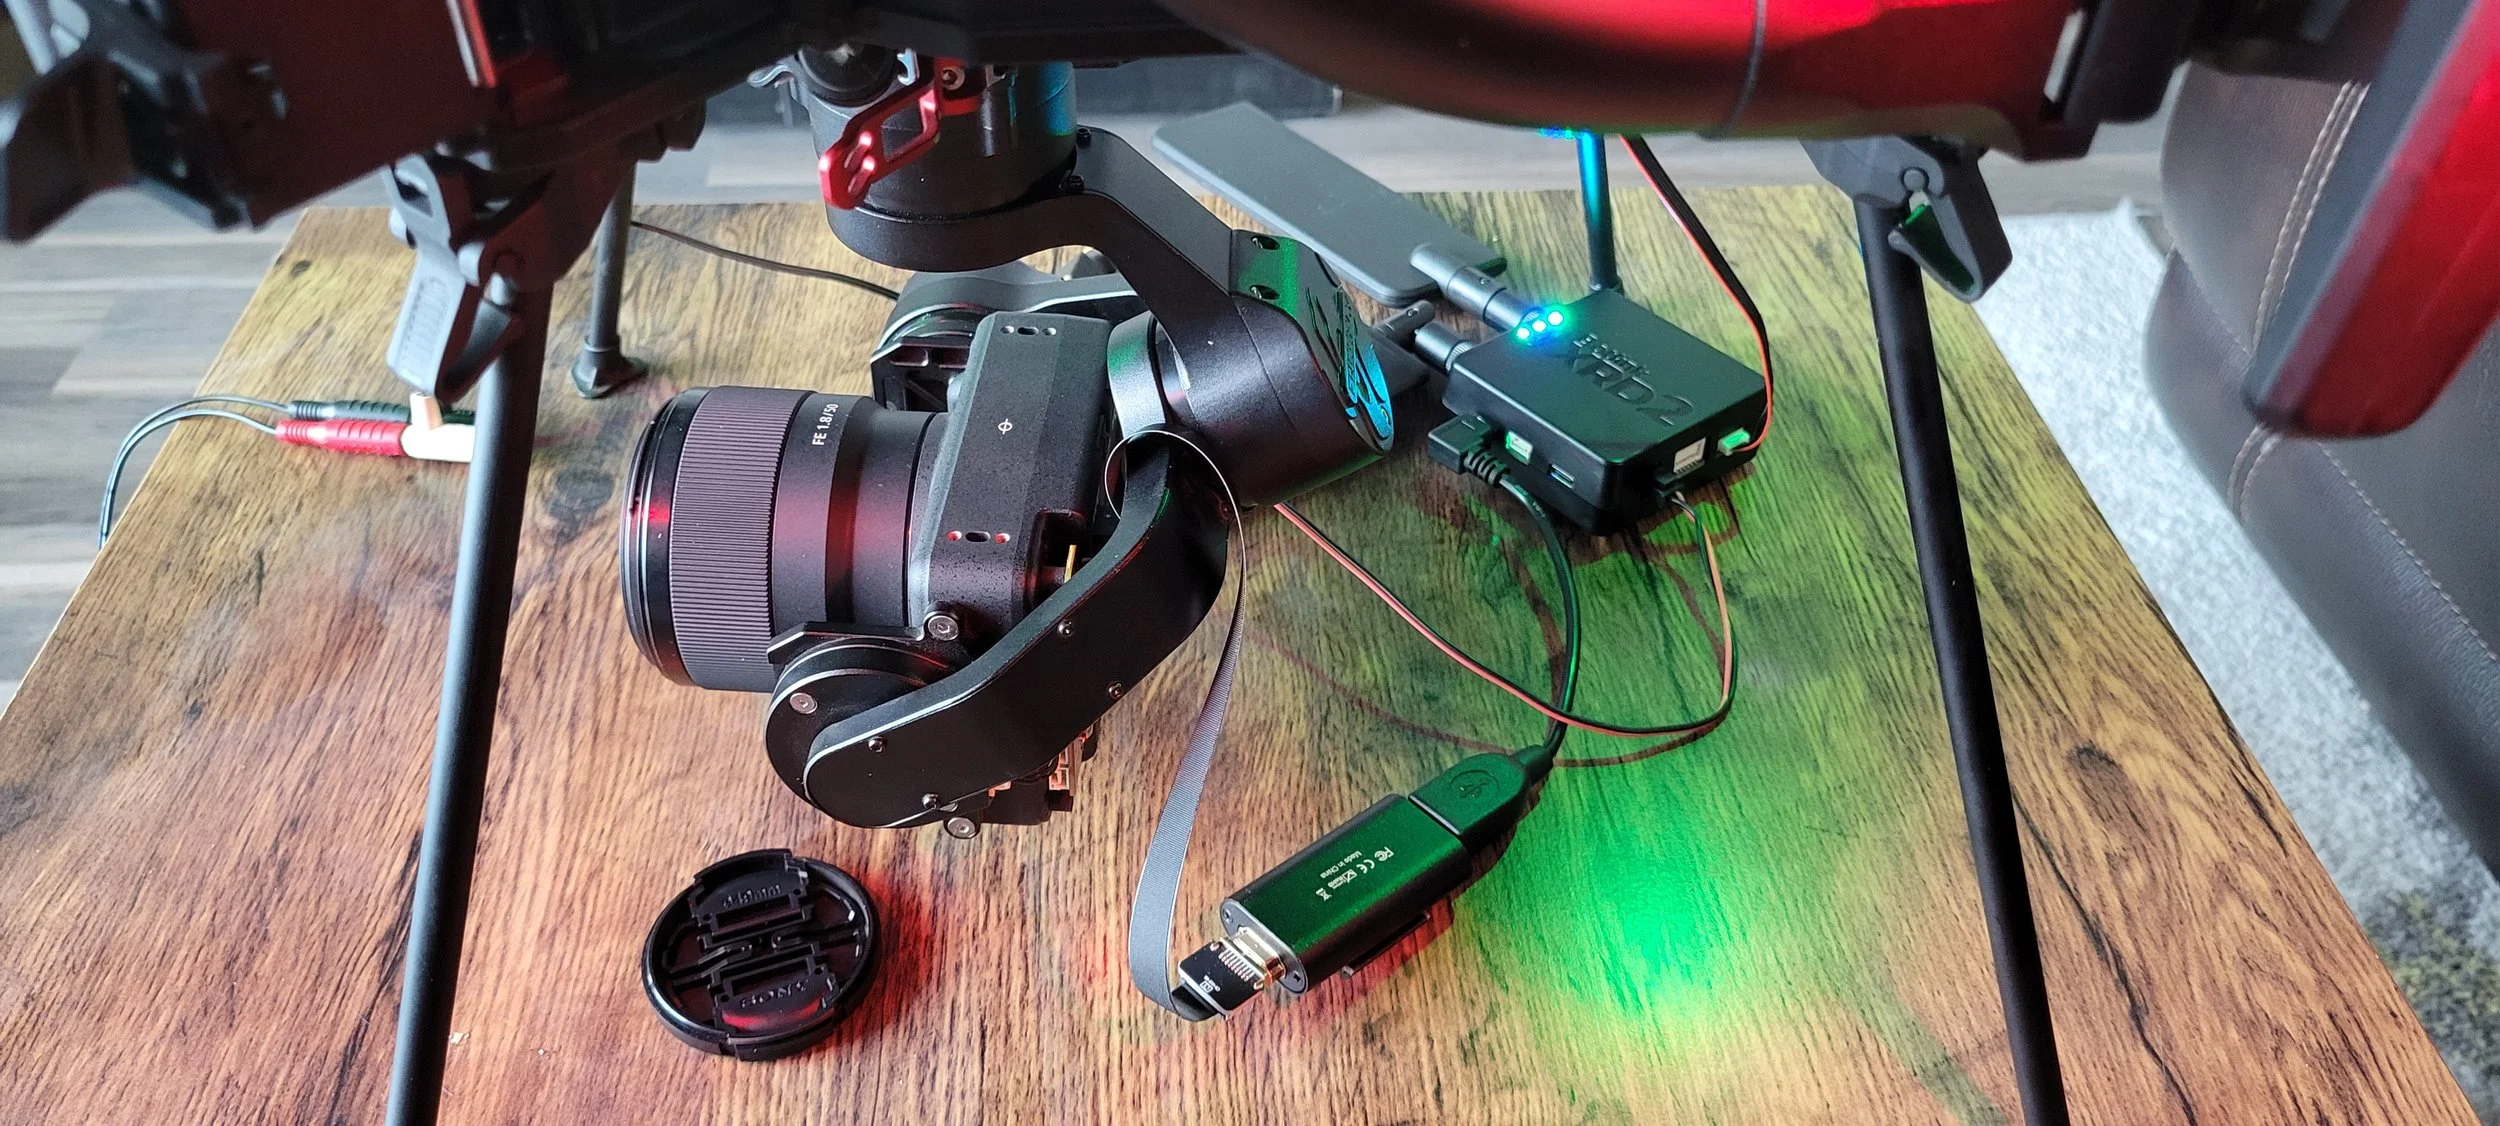
Integrating Your XRD2 with a Freefly Astro and Sony LR1
Added cellular connectivity to the Freefly Astro is easy with the Botlink XRD2. This walkthrough shows the step by steps on how to integrate the XRD2 into the Astro, and how to fly over a cellular network.

Using the XRD2 with a FLiR Camera
This article will walk you through how to connected a Gremsy gimbal and Flir Pro thermal camera to your ground station over the XRD2.
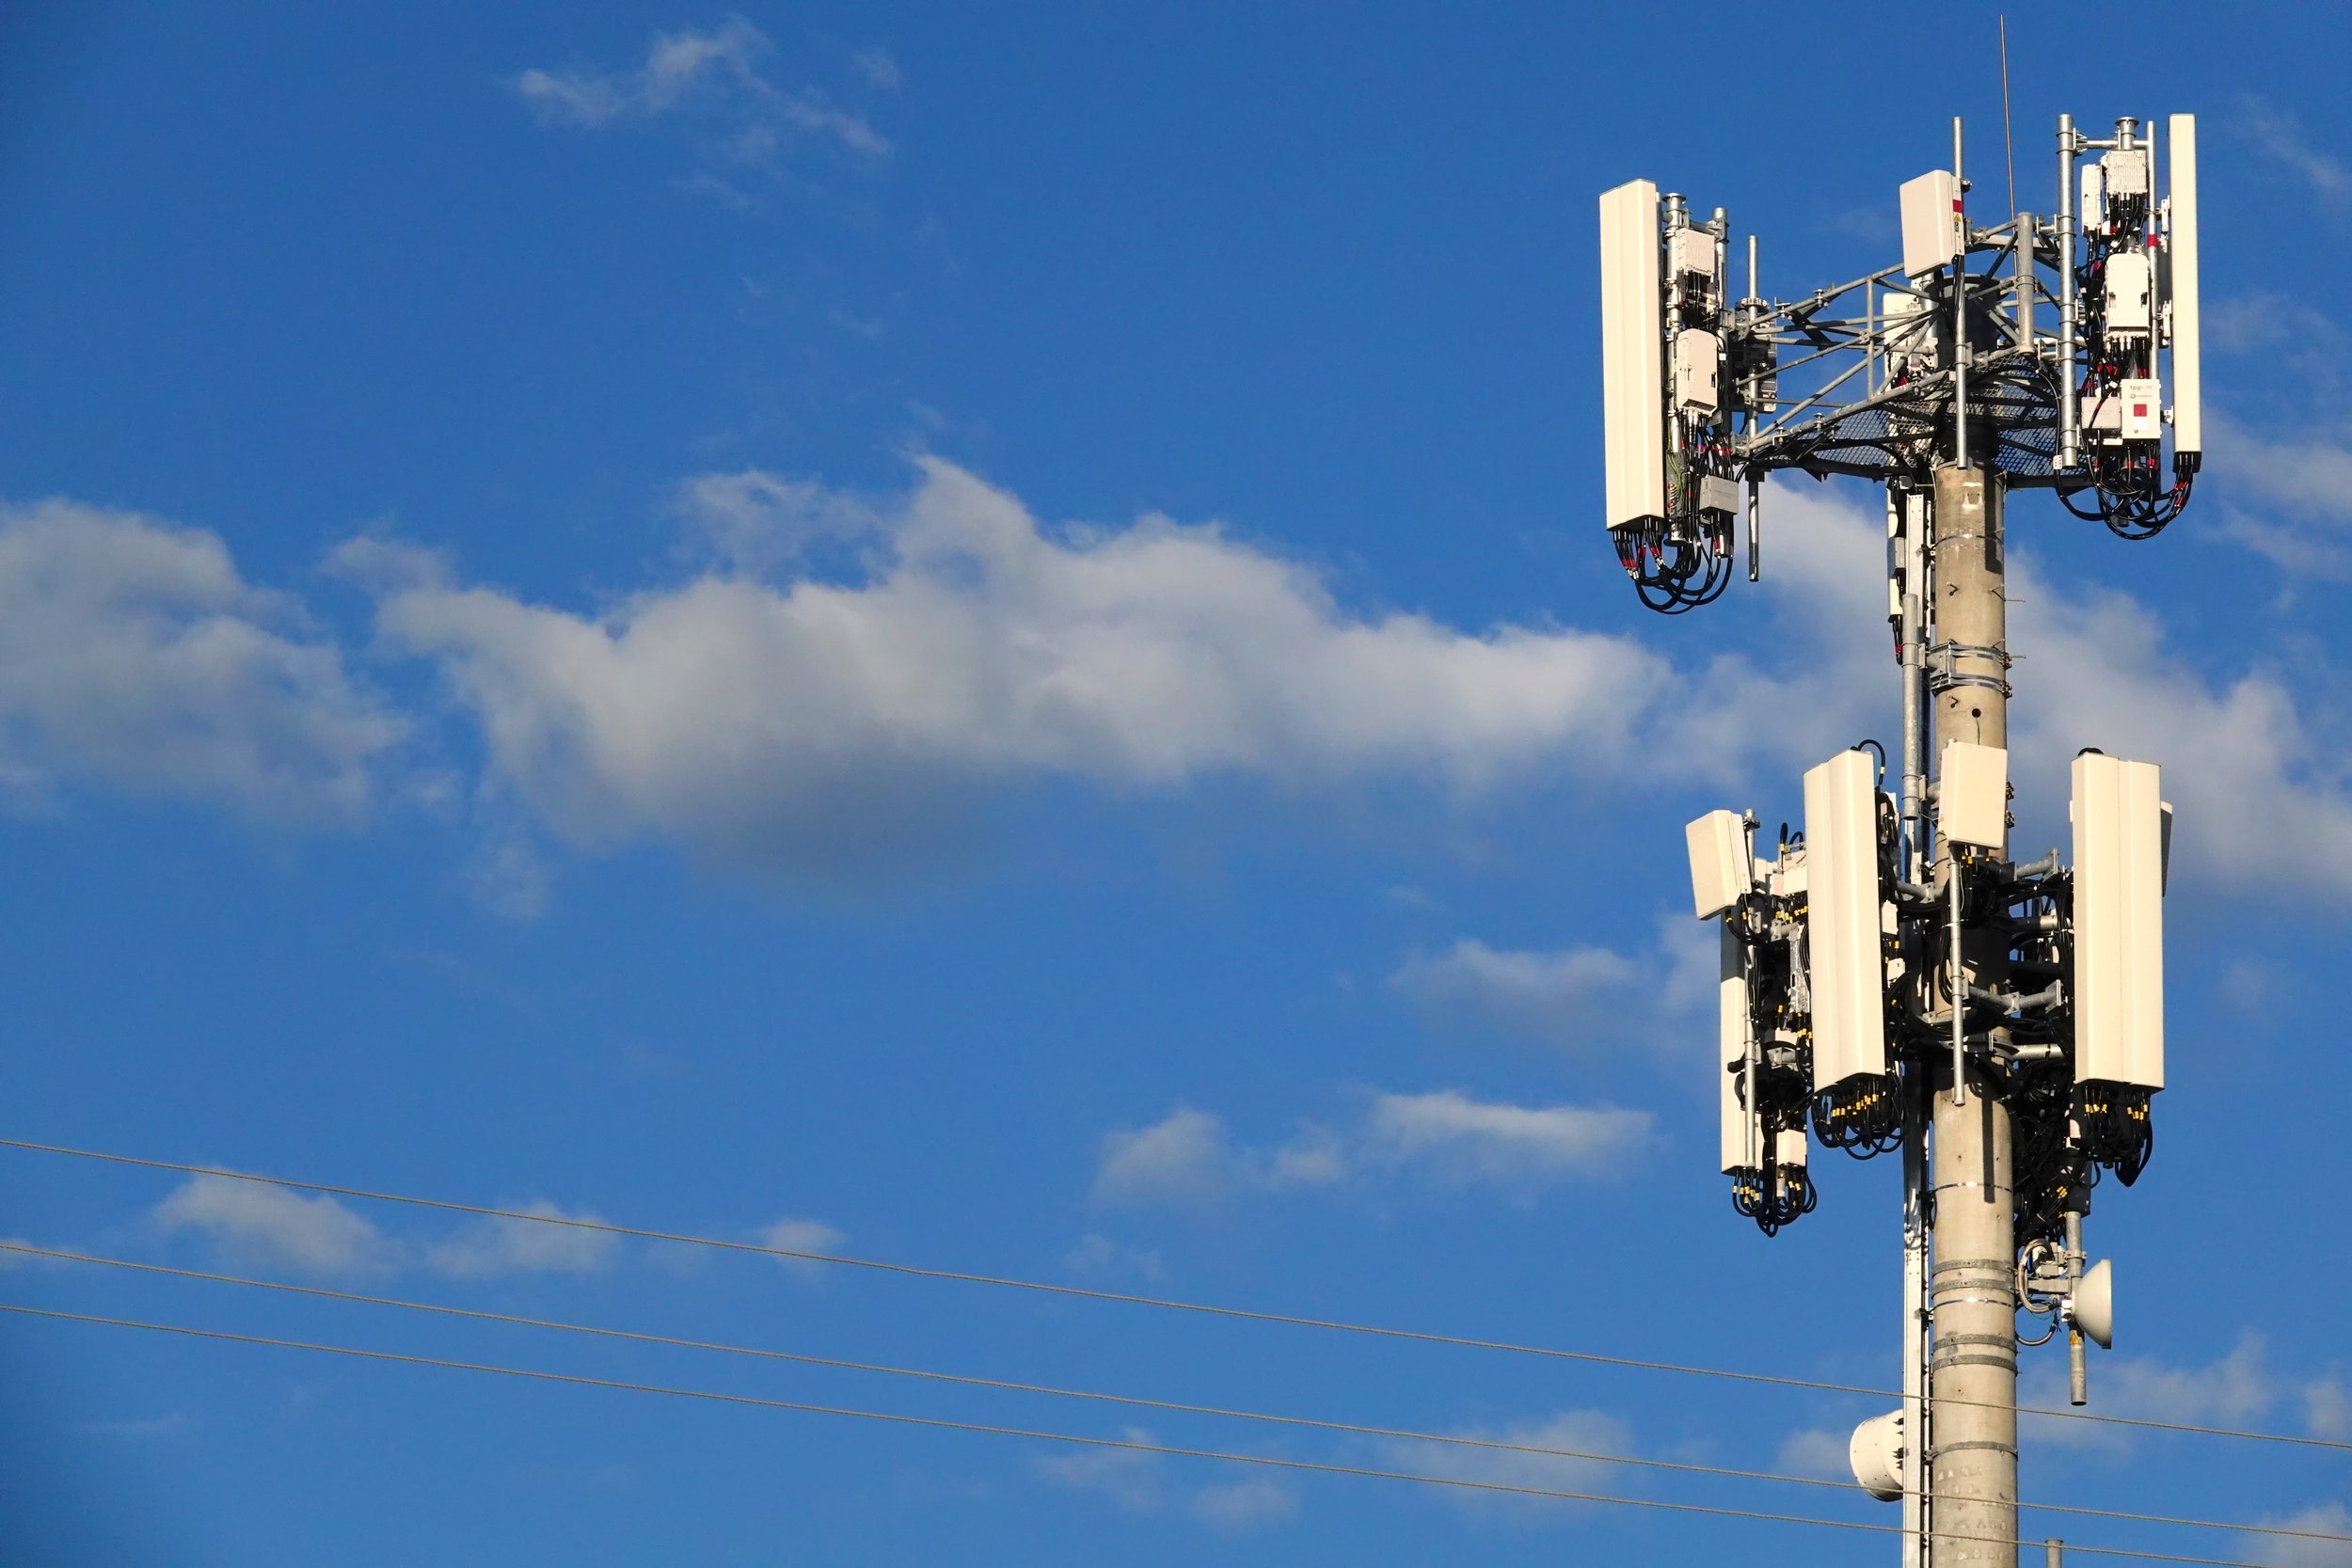
Why Cellular? Reasons for Integrating Cellular C2 in your Drone

How to Set Up an Xbox Controller for a Pixhawk Autopilot And Fly Using Botlink's XRD2
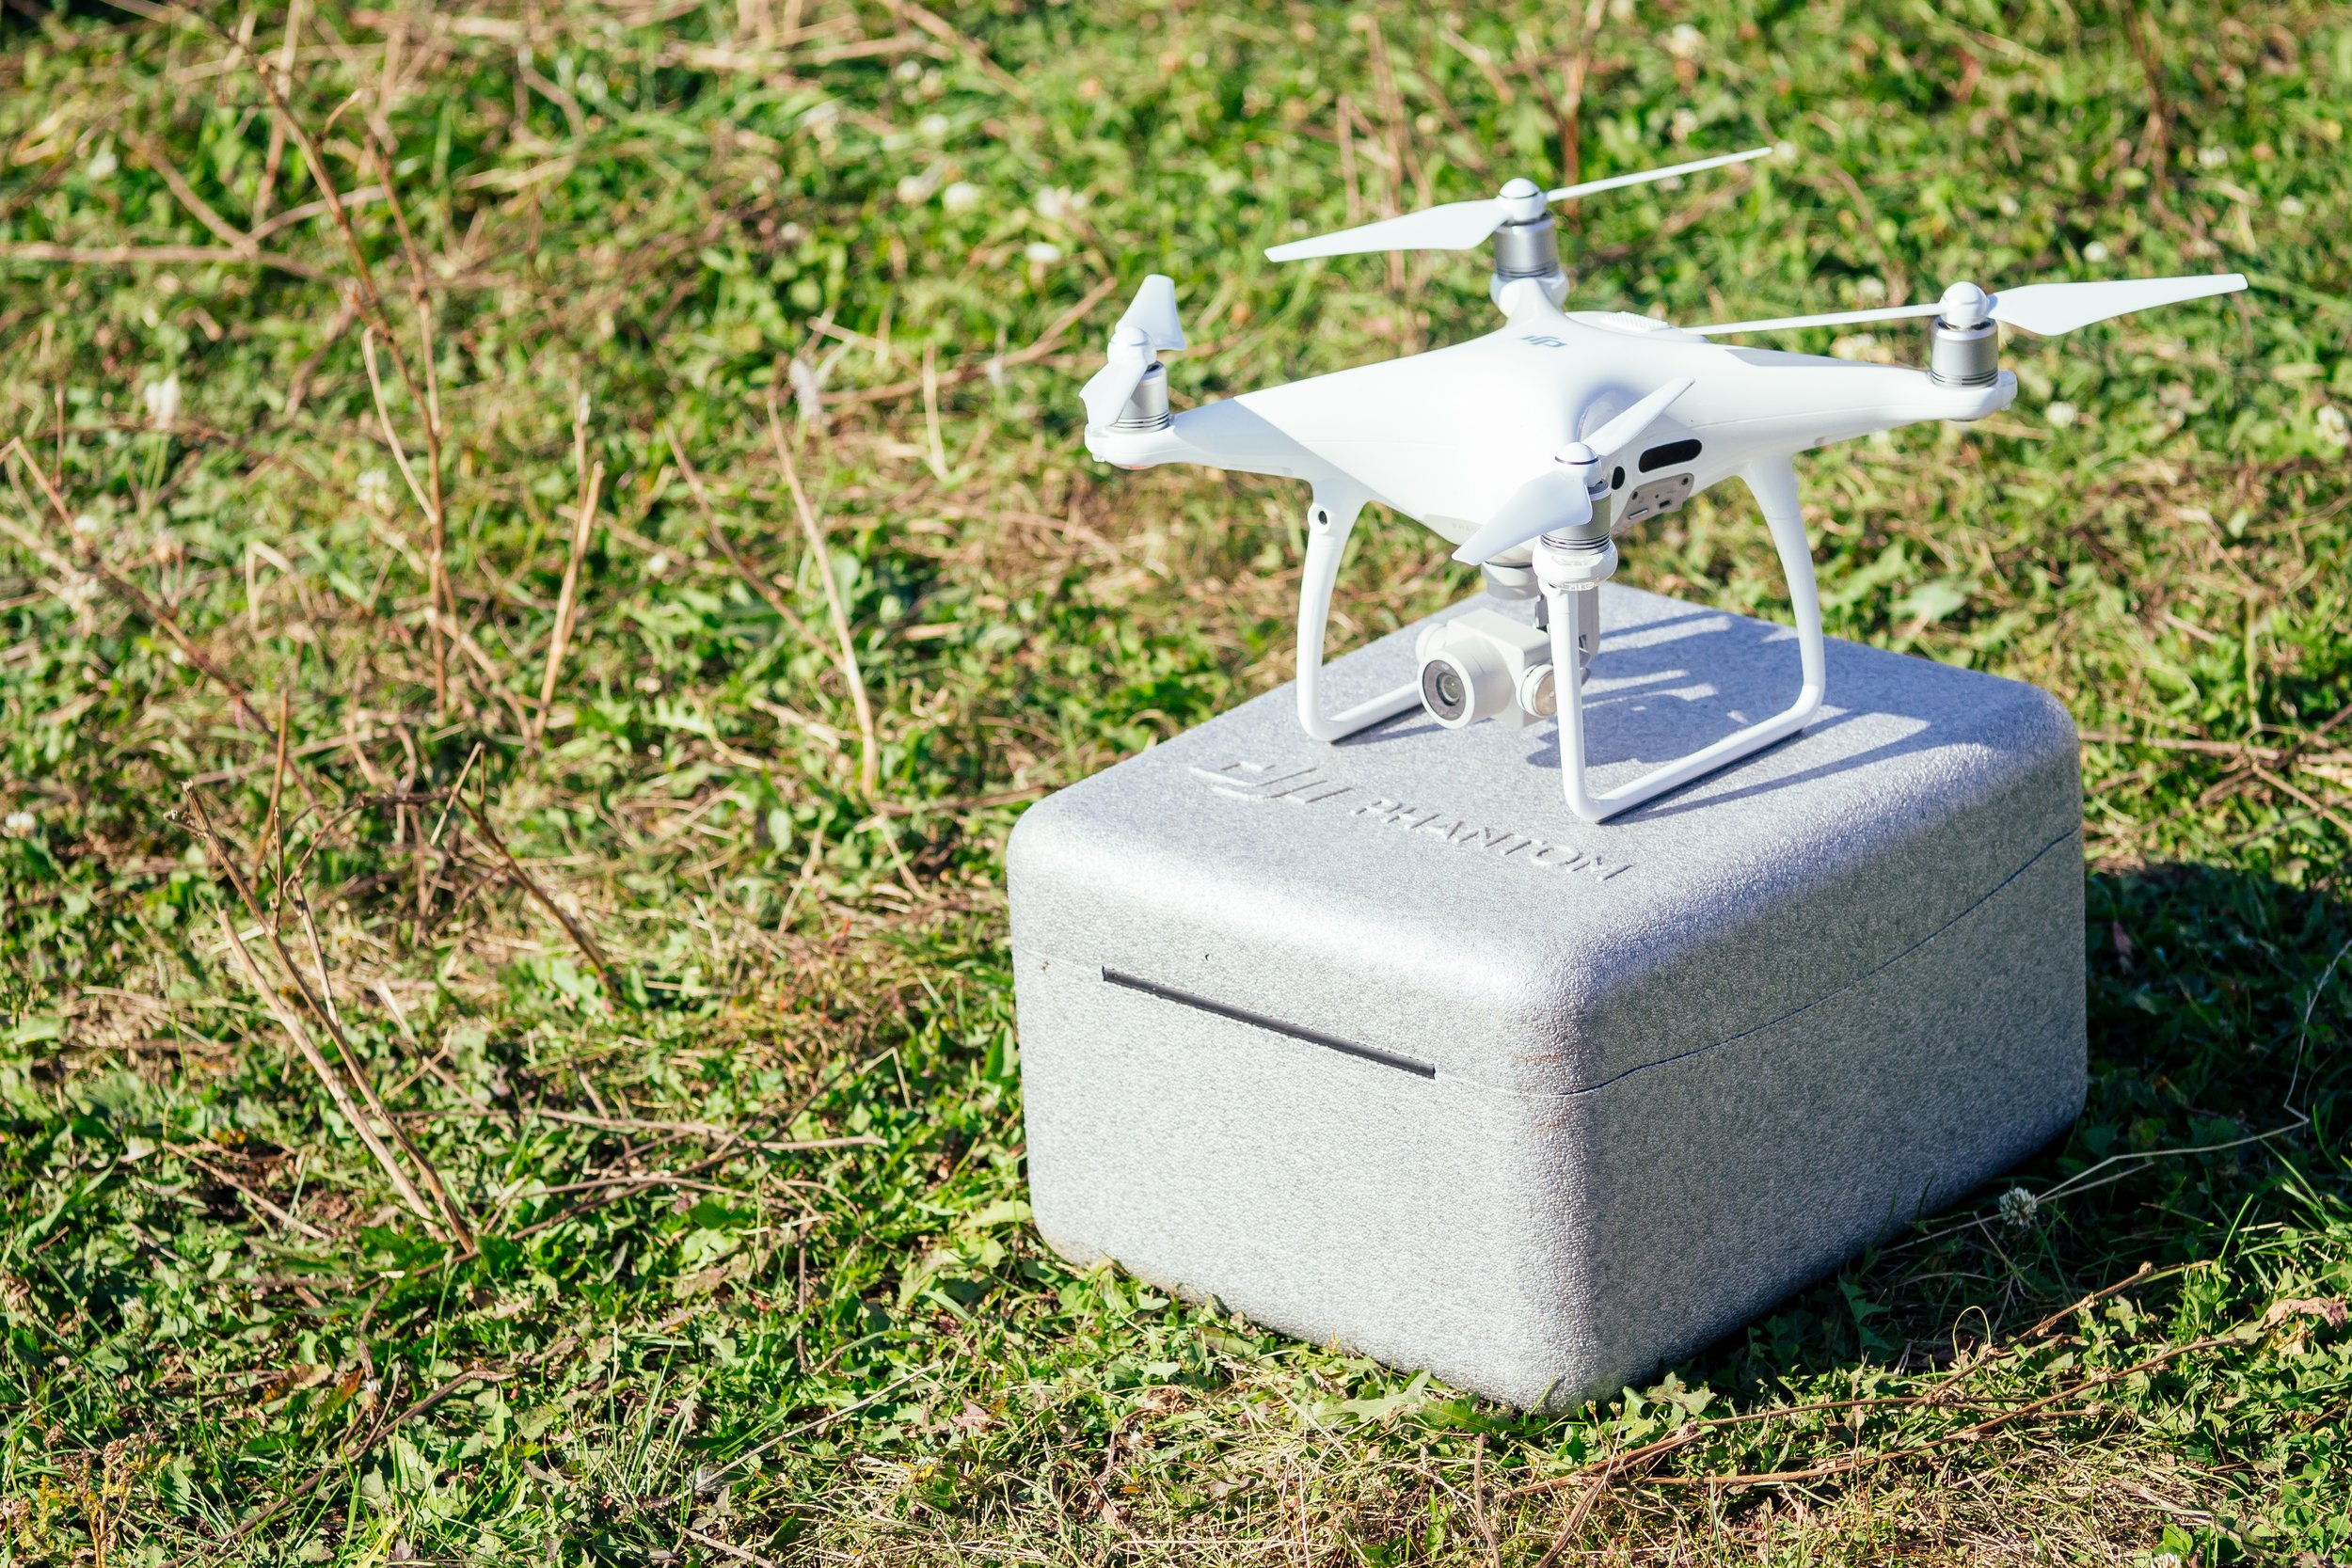
Tips on how to get DJI GO 4 Ready for Survey Flights
Best Practices for Survey Drone Flights for 3D Mapping

Why Using Drones Makes Aggregates Producers More Profitable
If you’re not using drones to measure stockpiles at your location, you’re missing out on an easy way to quickly gather information allowing for more efficient operations, which saves on the bottom line.

FAQs About Using the Botlink XRD for 4G/LTE Drone Communications
Let’s run through some of the most commonly asked questions about operating drones over LTE cellular networks.
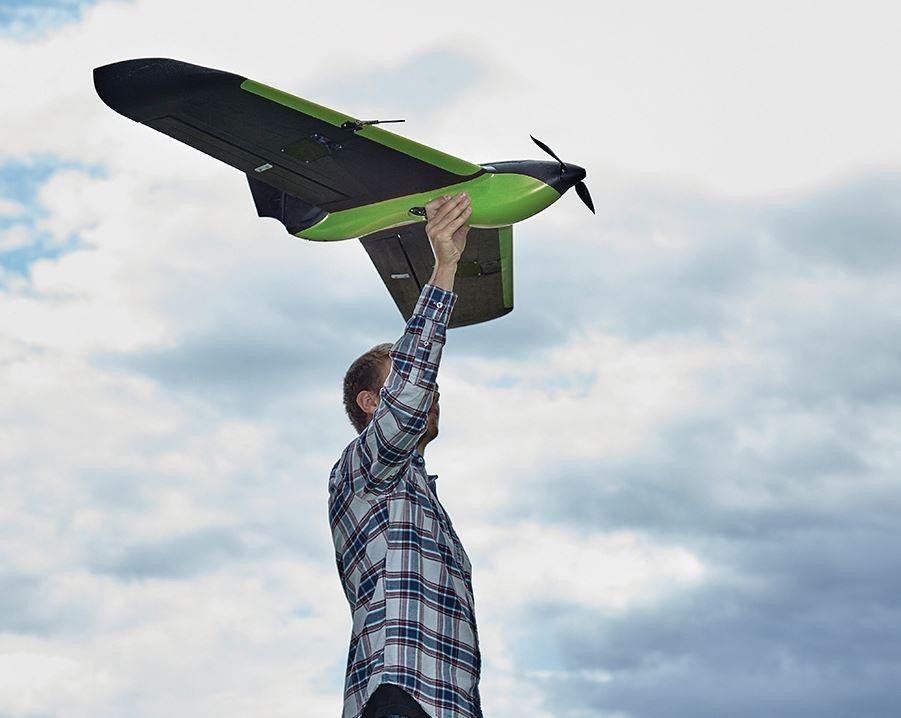
Aerodynamics 101
Belt Scales vs Drones - What's Better for Measuring Stockpiles
Let’s take a deep dive, and compare using drones for stockpile measurement versus using more traditional methods like belt scales.
Search Our Blog