We cover a LOT of stuff in here, from our capabilities to best practices.
BOTLINK ARTICLES

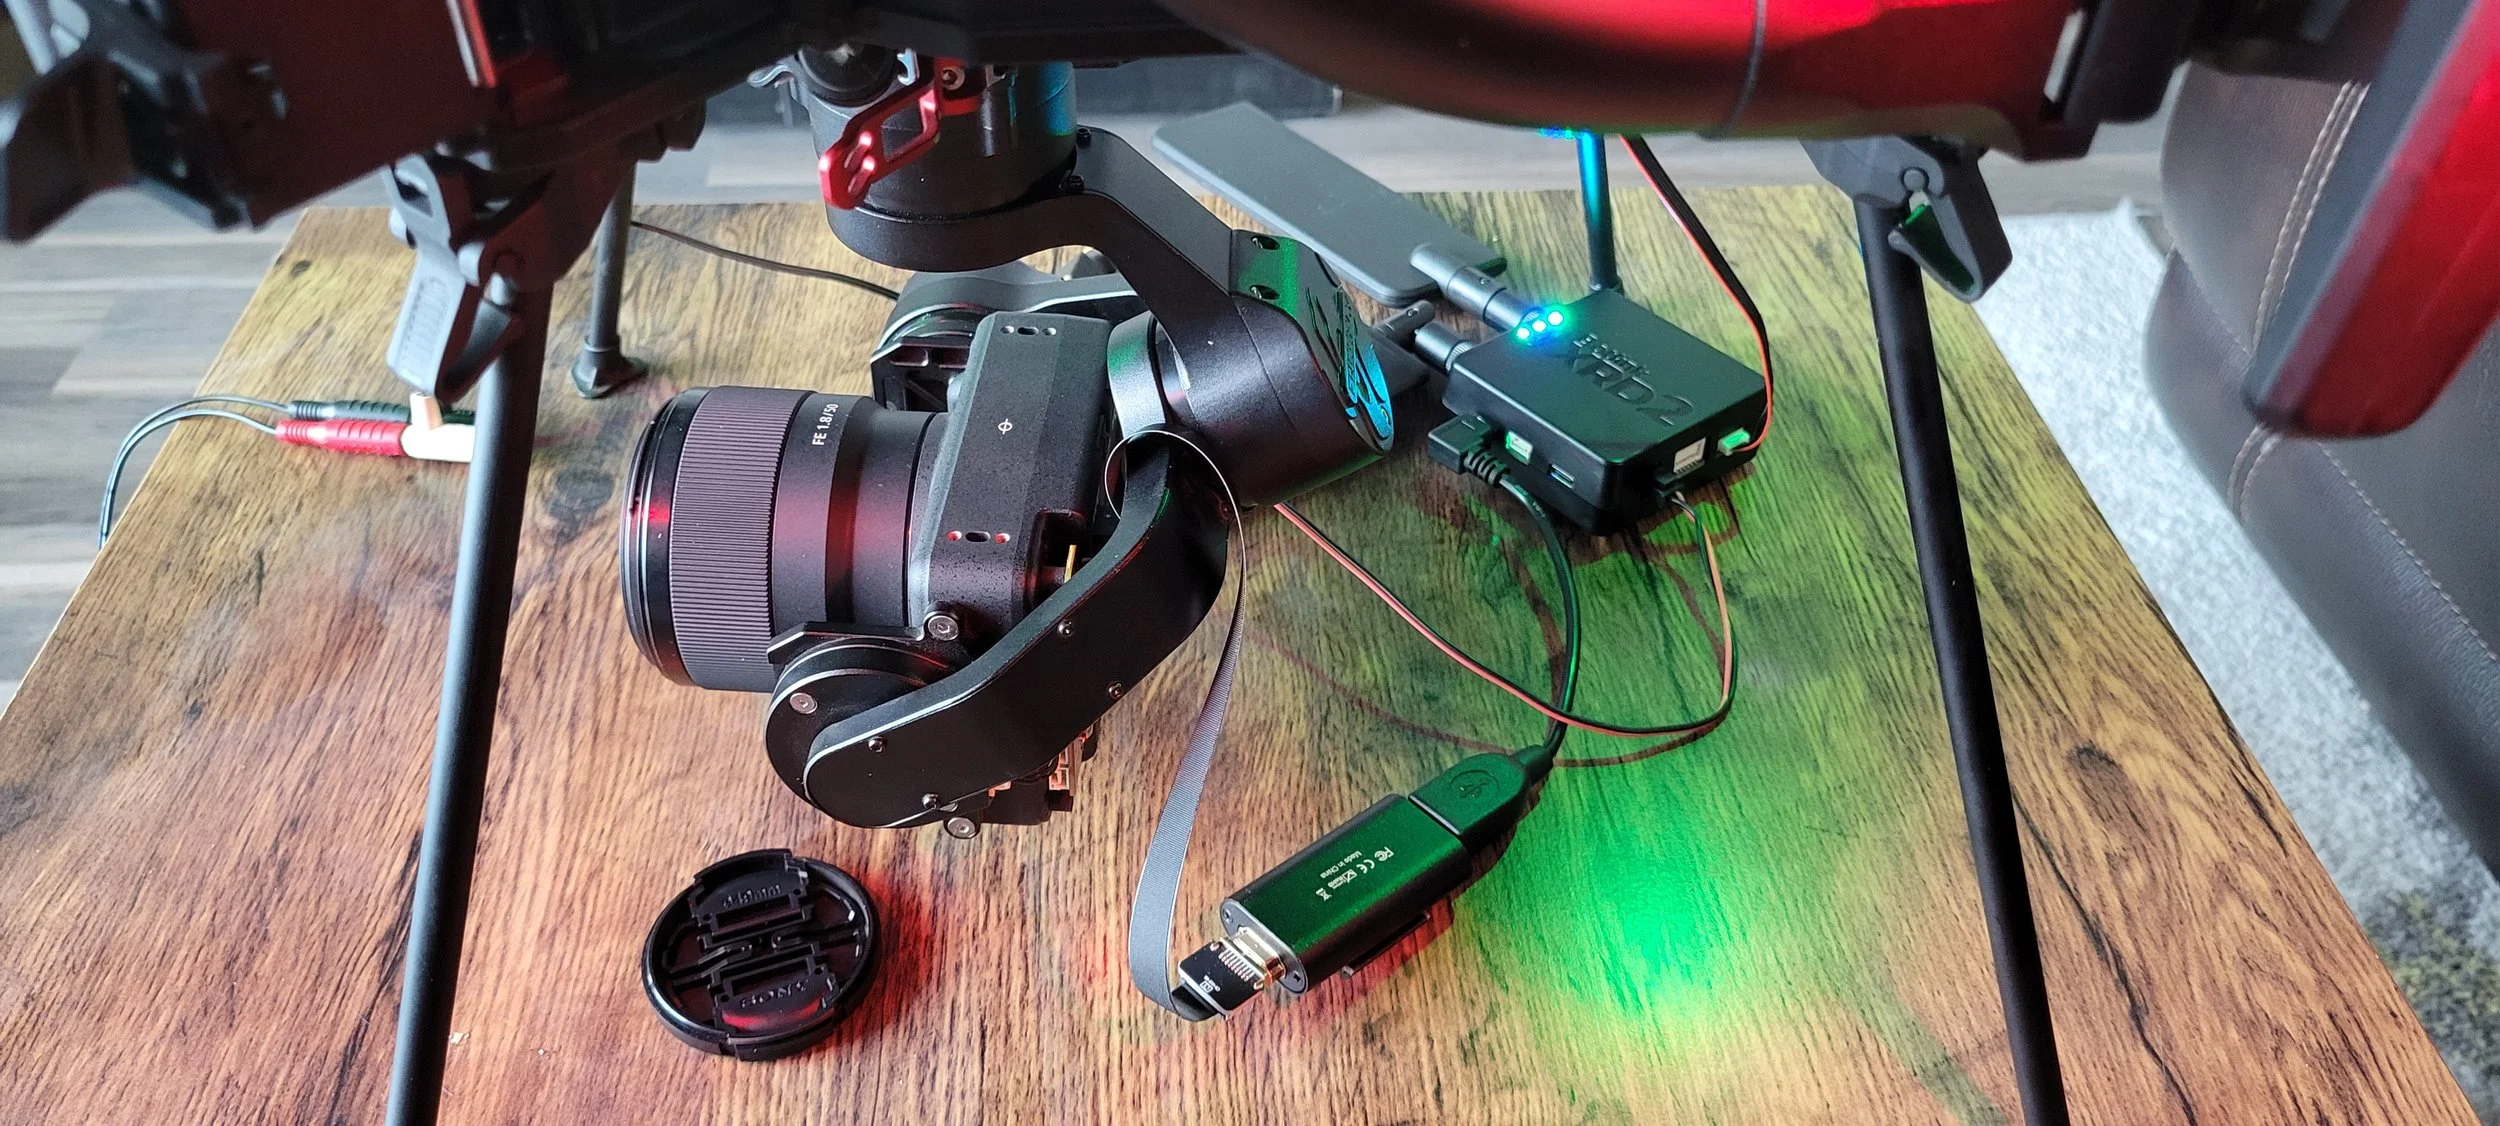
How to Set Up an Xbox Controller for a Pixhawk Autopilot And Fly Using Botlink's XRD2
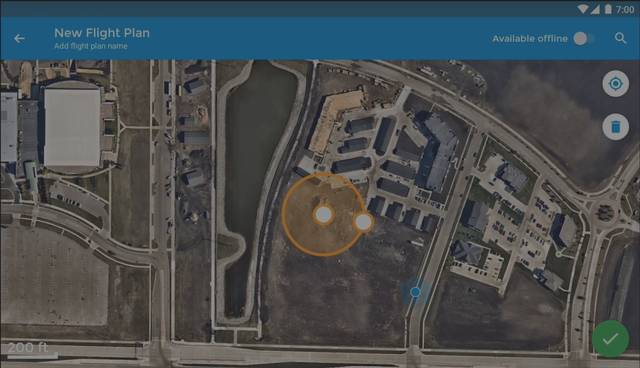
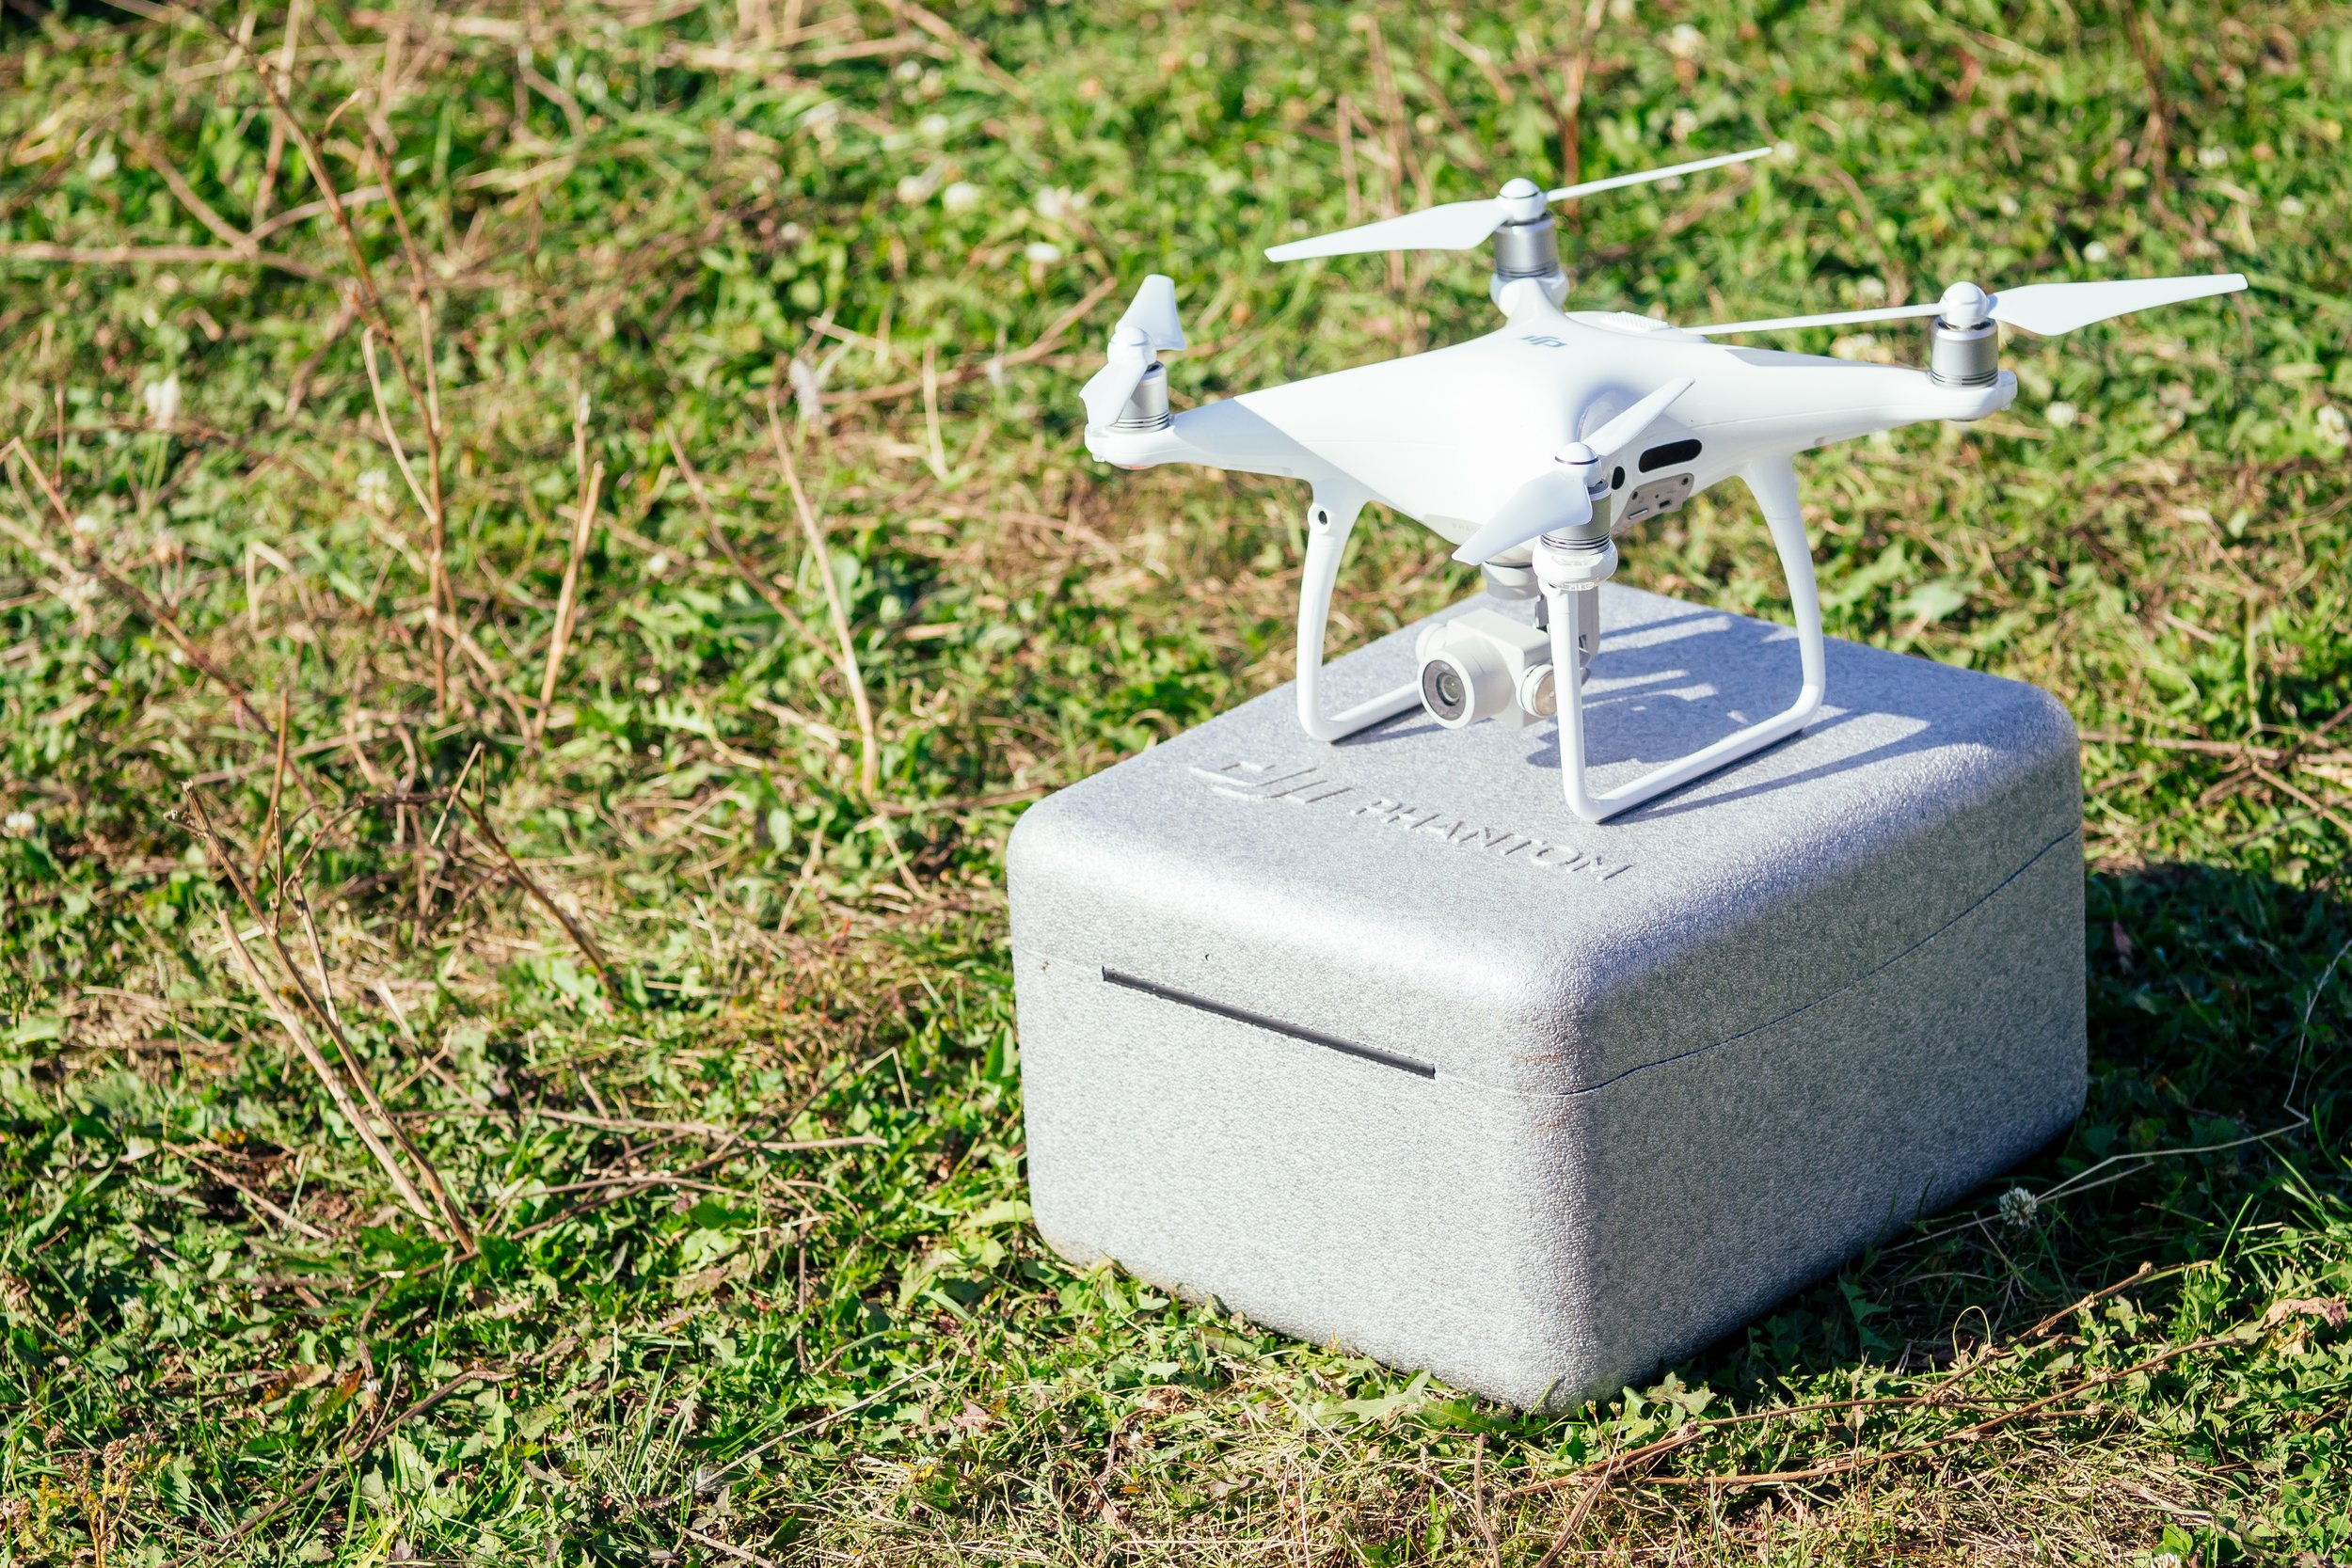
How to Create an Orbit Survey With Your Drone
At Botlink, we absolutely love our latest feature and are excited to let everyone know all about it! Orbit Surveys are an incredibly cool way to create stunning 3D models filled with rich data to analyze and share with clients and customers.
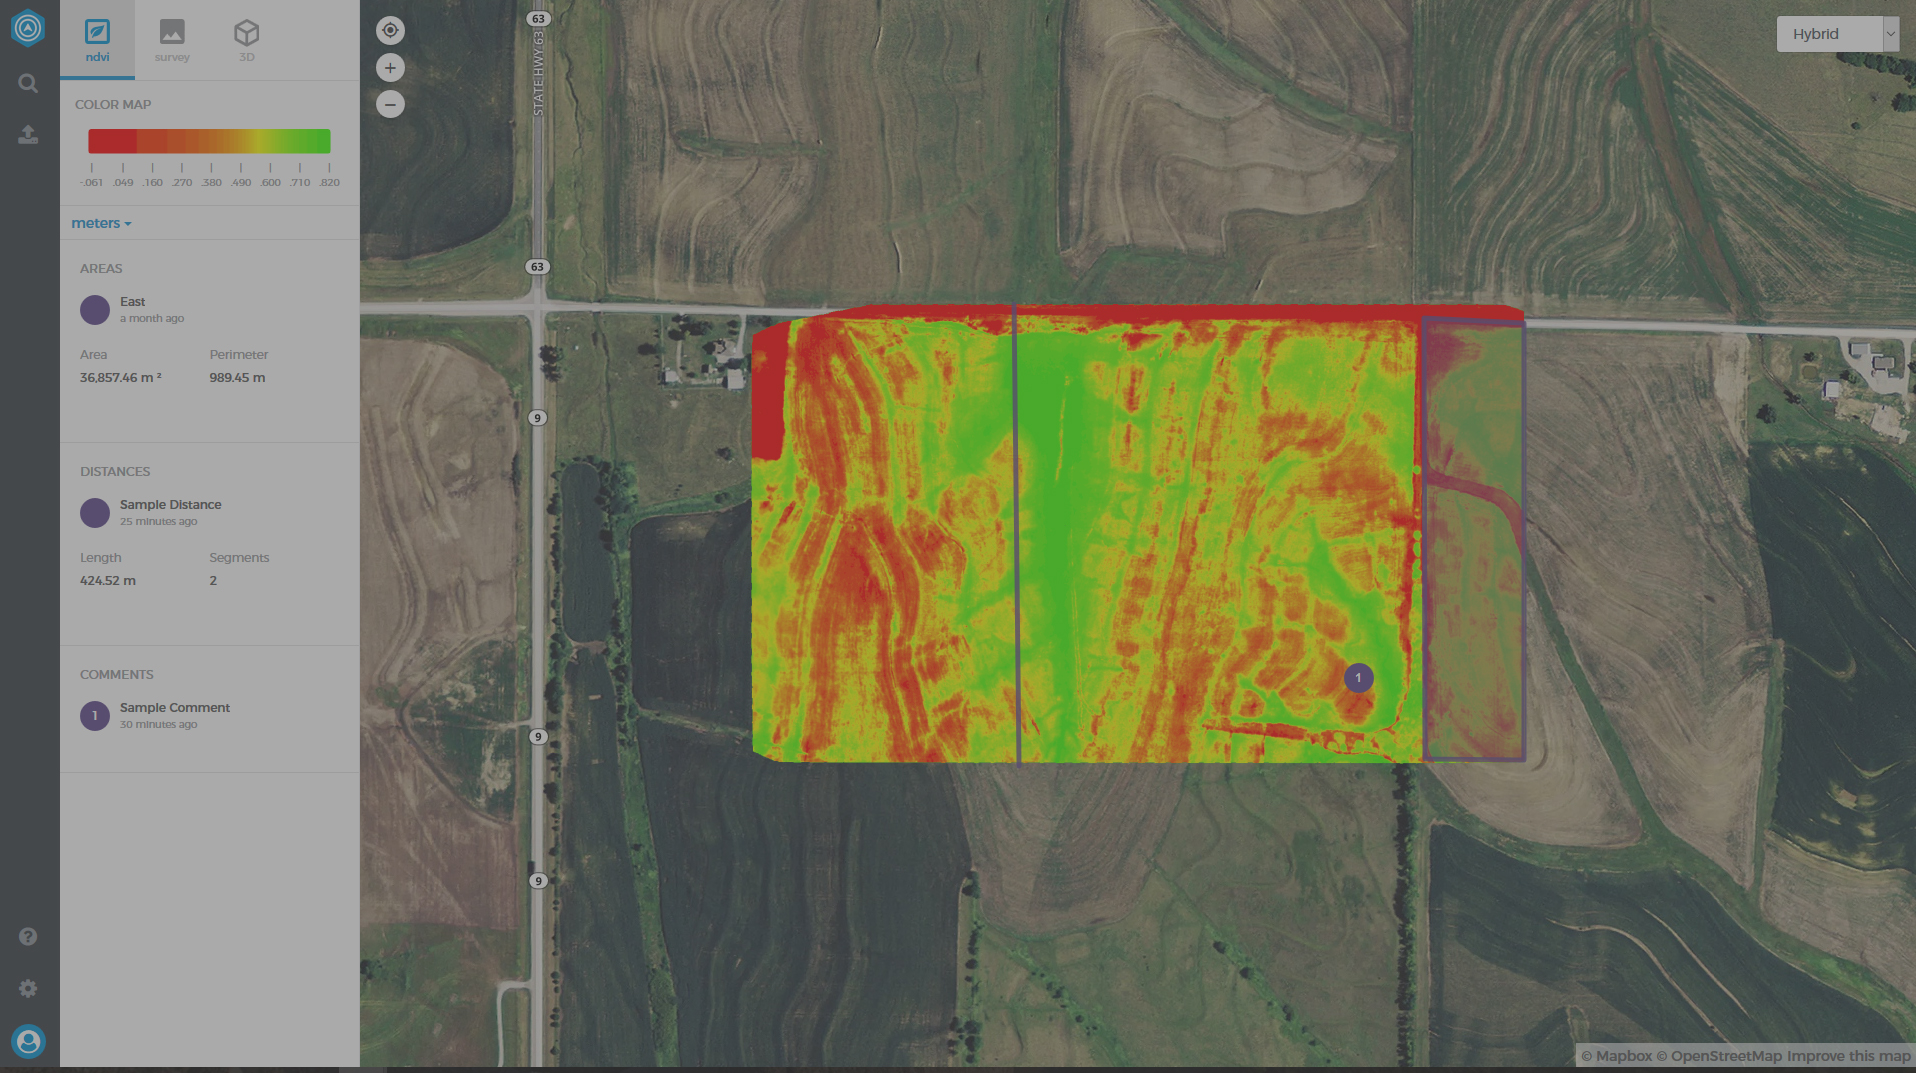
Introducing Flight Sharing
Botlink’s latest update allows you to share your missions, flight data, measurements, and annotations with clients and colleagues in just a few simple steps.
Search Our Blog